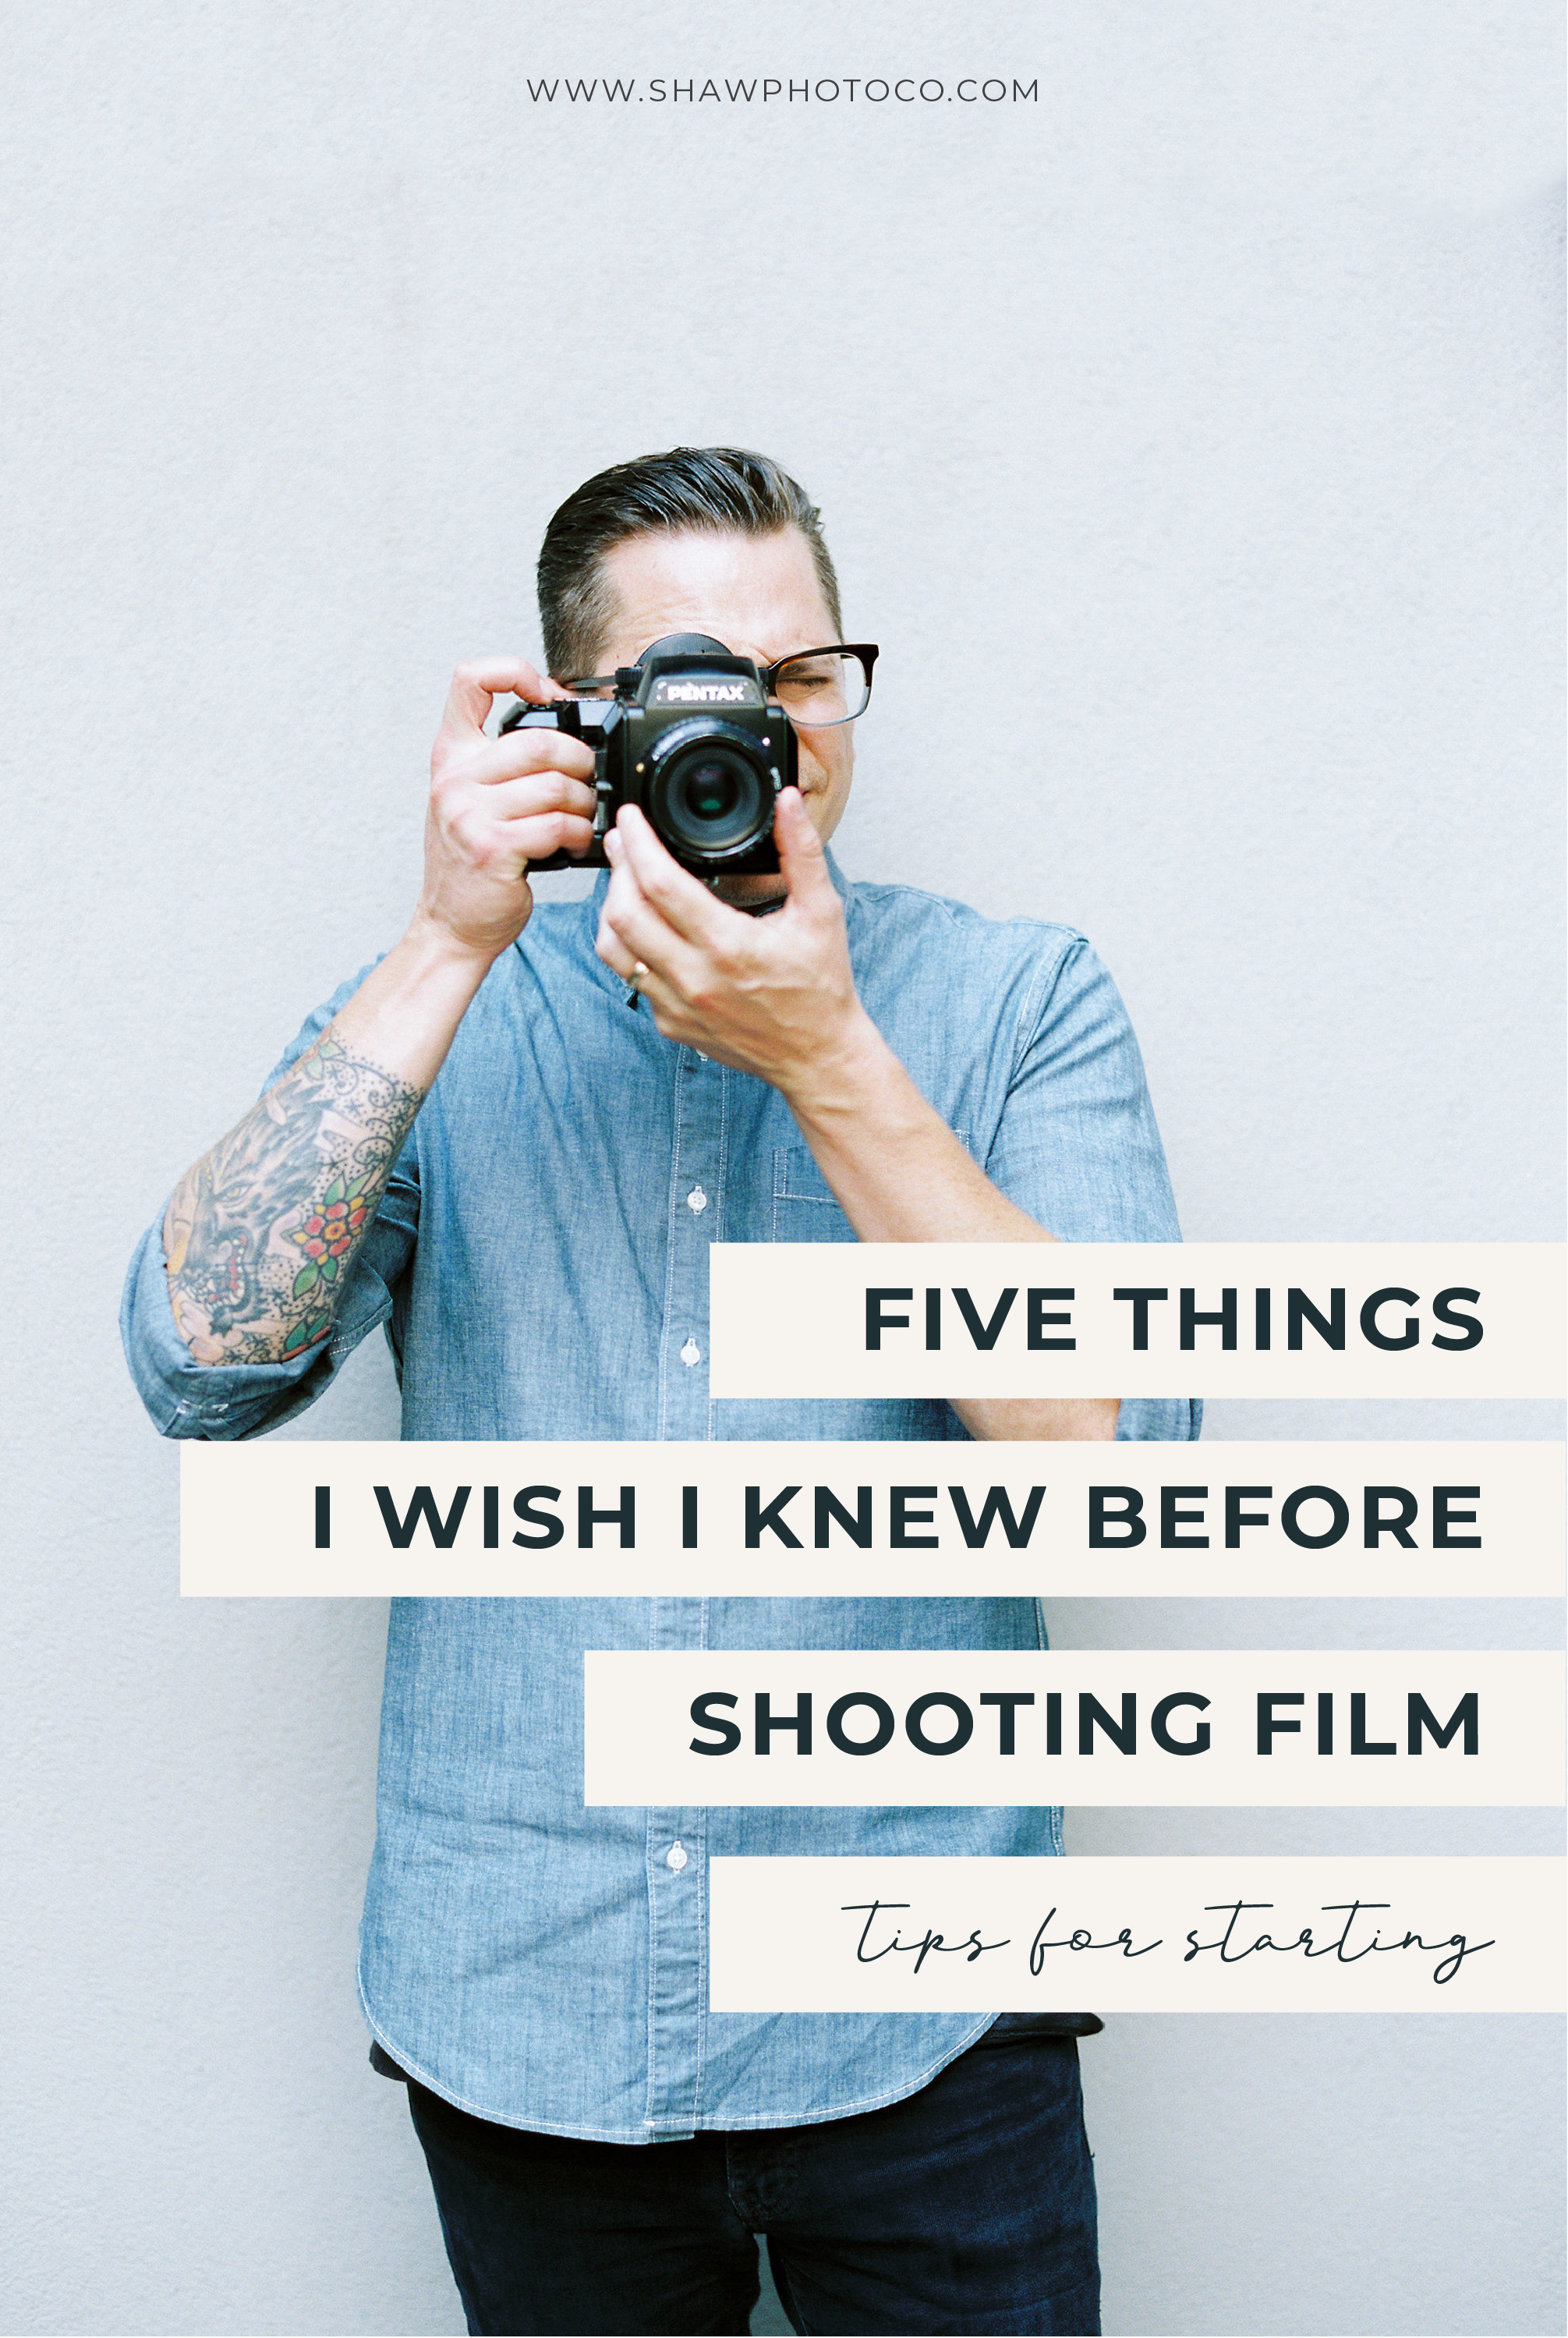
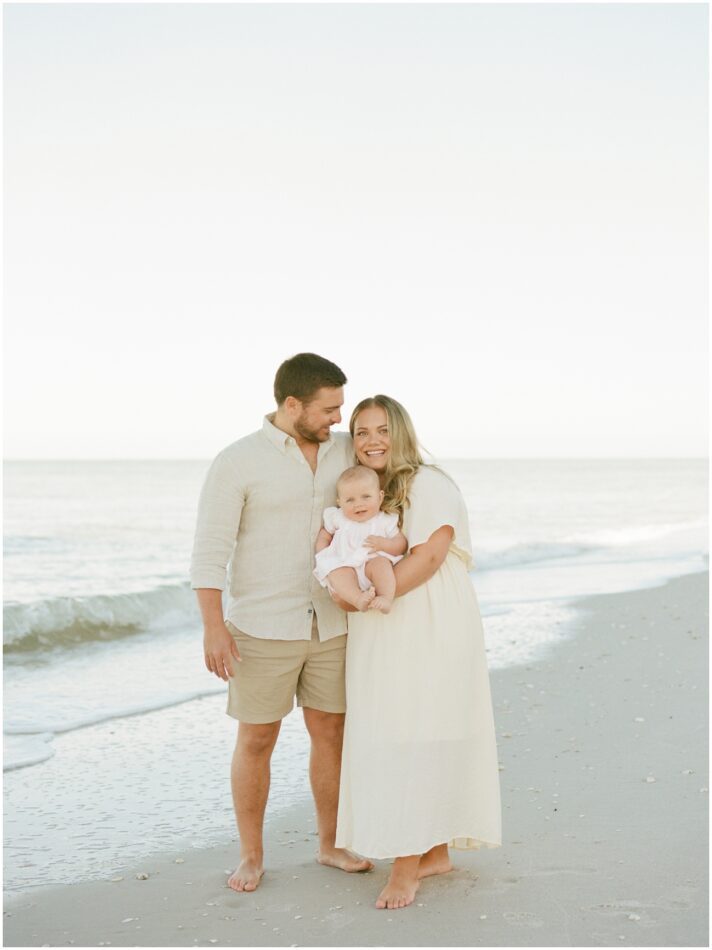
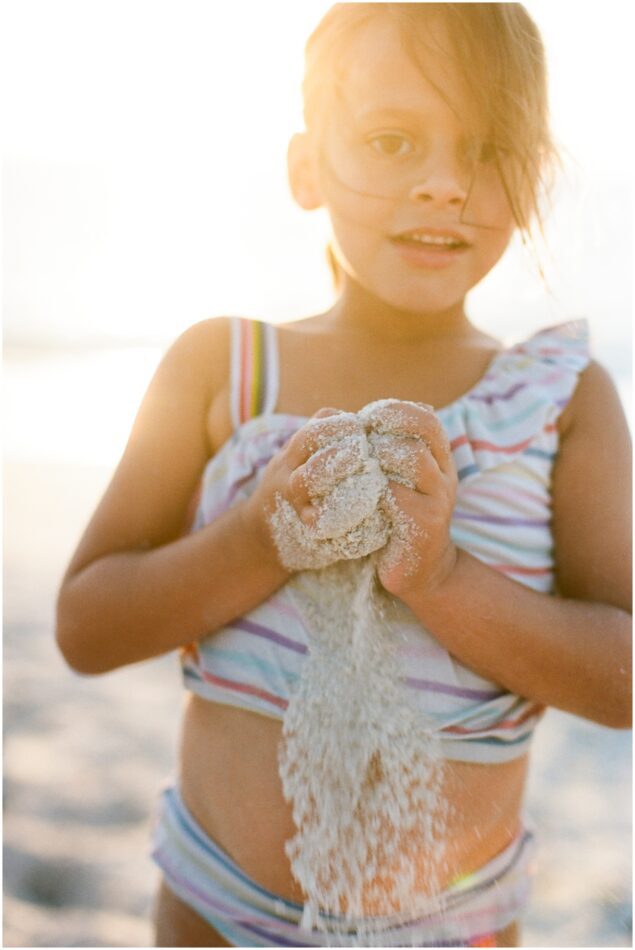
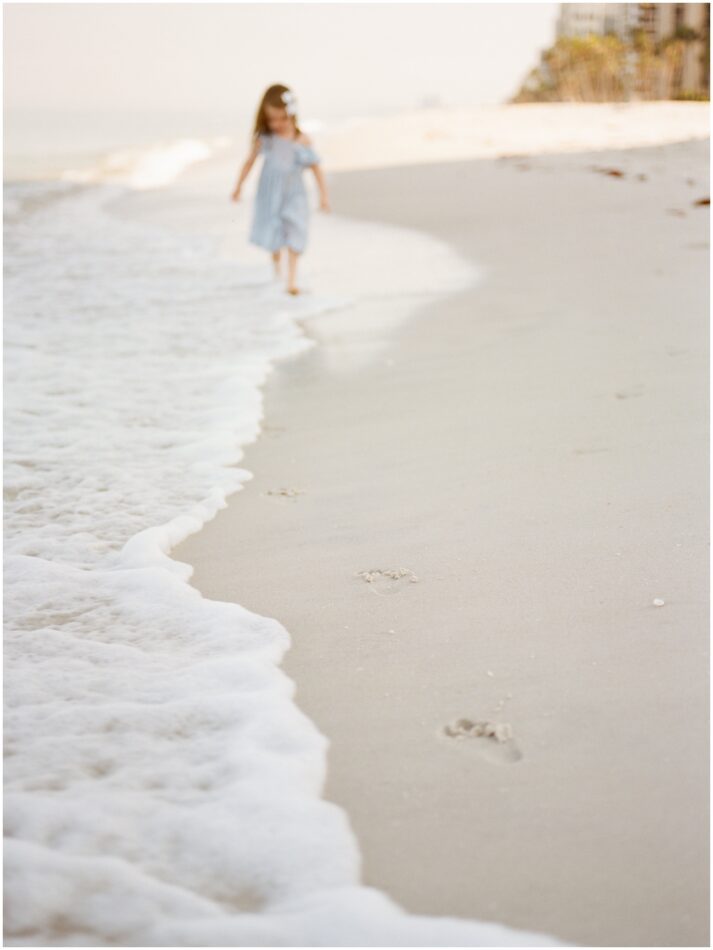
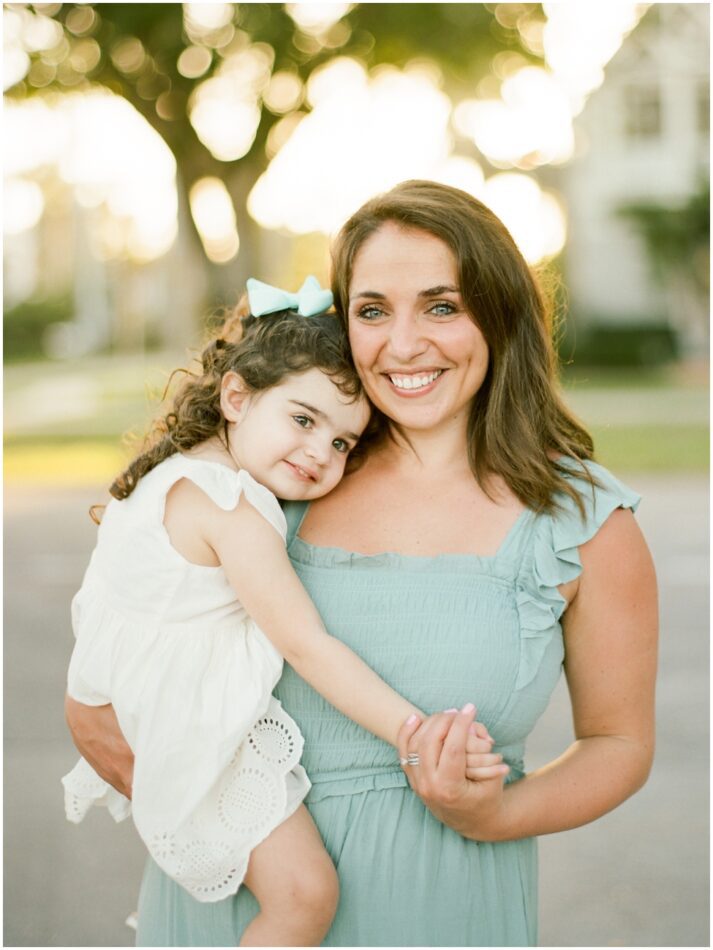
Beginners Tips for Shooting with Film
Some links in this post are affiliate links. If you click through and take action, I’ll be compensated. Click here for my full disclaimer.
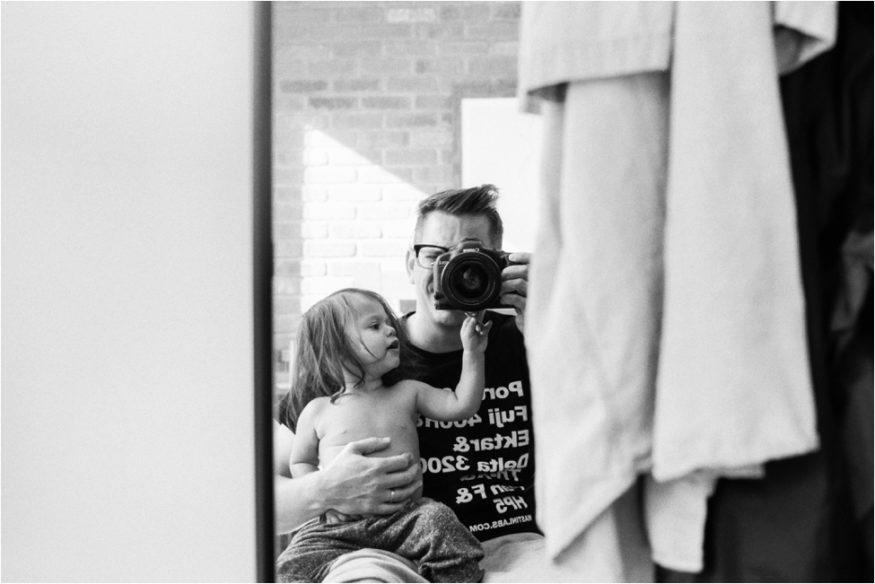
In 2017, I decided to start incorporating film into my personal photography images. It all started with the birth of my daughter. I was dead set on capturing her life using only film photography.
When I made this decision I had already been photographing digitally for about 8 years. I had developed a bad habit of overshooting and never truly being satisfied with my editing. I’ve always been drawn to the look and feel of film photography and I especially loved how it made me slow down as a photographer.
Those two things were enough for me to make a promise to myself that from this point forward, all personal work would be photographed on film. It wasn’t soon after that I started photographing all of my family sessions on film and now, I’m also incorporating it into my wedding work.
5 Tips for Shooting With Film
Some links in this post are affiliate links. If you click through and take action, I’ll be compensated. Click here for my full disclaimer.
When I started my journey into shooting film, the internet was my biggest resource on what gear to purchase, how to exposure properly, and overall do’s and don’ts of film photography. I thought it would be helpful to give back and create a post about the useful tips I’ve discovered for photographing film.
Tip One: Use an Incident Light Meter.
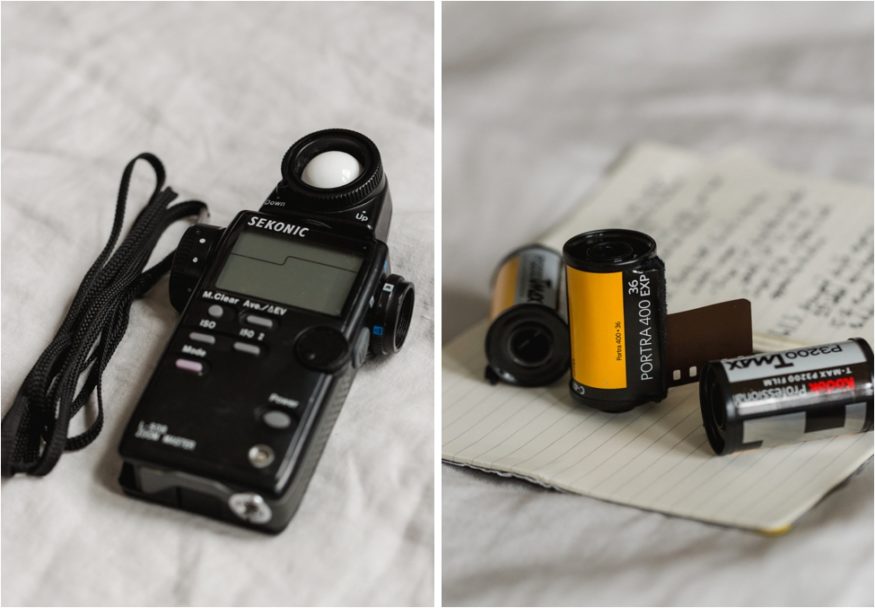
I purchased a used Sekonic Light Meter L358 for my main light metering. It’s a bit old so they aren’t making it anymore but you can find them used.
With film, you don’t have the luxury of looking at the back of the camera to see if you exposed the image correctly. When I started shooting film, I only had a simple 35mm film camera and I relied on the internal reflected light meter in the camera to tell me how to expose it. If you have ever used an internal reflected light meter on a digital camera, you know how temperamental it can be, (and incorrect!). I found it especially all over the place in difficult lighting situations, (like the subject being backlit). When just starting out, you’ll likely also begin with the internal meter, but before long you’ll want to upgrade to a handheld incident light meter so that you can expose it properly for film.
Before I used an Incident Light Meter, my image exposures were all over the place and most of the images were underexposed with muddy shadows. I had no idea if this was due to me underexposing the shot, or if that was how the film stock displayed shadows. After a few months, I purchased a Sekonic Light Meter and the issue of underexposing images went away. I strongly suggest getting your hands on a reliable incident light meter so that you can feel more secure about your results and learn the film stocks better.
Here are the updated versions which are digital and a bit more expensive.
Here is the specific Selpmoc Flashmate Light Meter I use as my backup to my old school one that is under $300 and does the job well.
Tip Two: Pick one film stock and stick to it.
The internet is full of photographers who recommend trying out different film stocks until you find one you like. There are also tons of photographers who believe you should just pick one, shoot it for about a year, and then make the decision to switch to another. I agree with the second school of thought.
When I started, I purchased 2 rolls of every film stock I thought I might like. Then I would shoot them and decide if I should stick with this stock, or go to another. After about 4 months of this, I decided to focus on shooting with Portra 400. For the four months when I was deciding what film stock to shoot, I was not learning anything about the film stocks I was trying because I was switching them around far too often and not picking up on the little things that make each type of film special.
All I was doing was experimenting all the time, (which is important), but it took me much longer to pick up which film I loved the most. I strongly recommend starting off with 1 film stock at a time, and I recommend Portra 400. It is very forgiving when it comes to exposing properly which makes it a great first film to practice with. If after a month you decide you don’t like the type of film you’re photographing with, try another one for a full month and keep notes of your dislikes and likes.
#3: Start Photographing With 35mm Film First
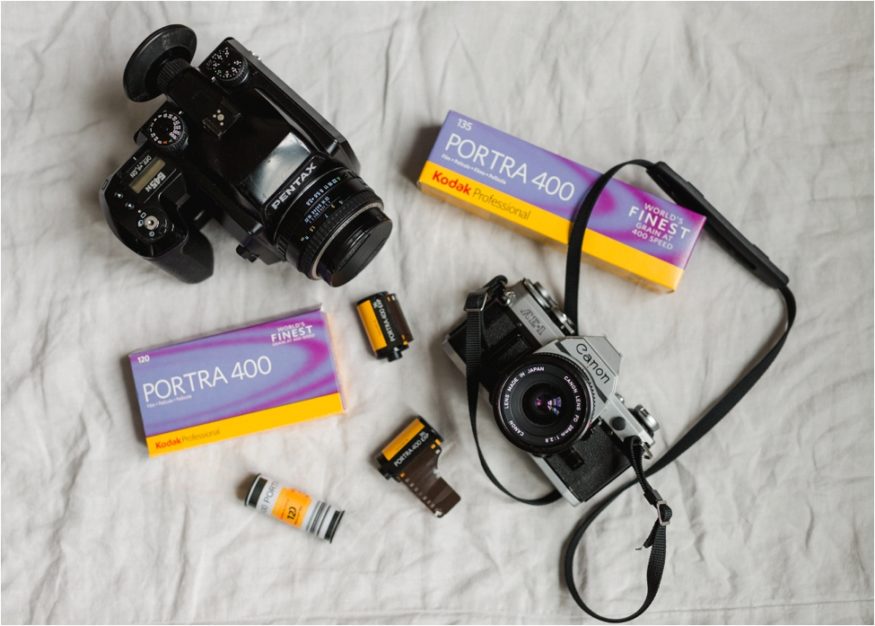
There are two primary film types you will come across in photography, 35mm and Medium Format (120). Of course, there are other film types, but these are the two most frequently used by beginners. The reason I advise to start with 35mm film is that it tends to be cheaper overall to shoot. Generally speaking, you get 12-16 exposures per roll of Medium format. With 35mm, you get about 36 exposures, (you can buy rolls with less exposures too). The cost of one roll of 120 might be slightly cheaper than a roll of 35mm, but the cost per frame is cheaper for 35mm. This also goes for developing as well.
Also, you can usually find a decent used 35mm film camera much cheaper than a used medium format camera. If you are already a digital photographer, you can also find a film 35mm camera body which is compatible with the existing lenses you own, which is another perk of starting with 35mm film!
#Four: Use a professional lab to develop your film
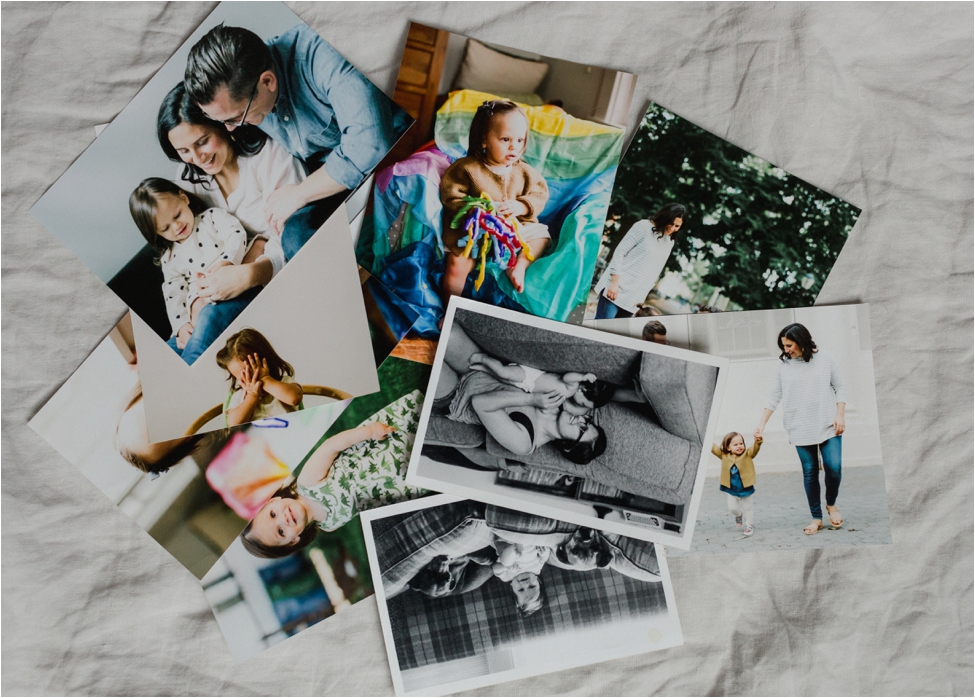
When I first started off with film, I remember thinking, “Film is expensive, and I’m just learning, so why spend the extra dollars on getting it developed at a professional lab?” So instead I went to Walgreens and got my rolls developed there. My prints and scans came back and most of the images looked pretty bad.
I had no idea if it was that I was a beginner and didn’t know what I was doing, or if it was the fact that I used a cheap processing lab that ruined the images, (full disclosure, I think it was a mix of both). But hey, if I had just used a professional lab from the get-go, I would have never even thought it could have been the lab’s fault.
Also, many labs provide you with feedback (only from a technical aspect) on each roll of film they develop. There is an additional cost for the feedback, but it is super helpful when starting off. It took me a while to find a lab I liked, but here are two labs I have used and can completely vouch for:
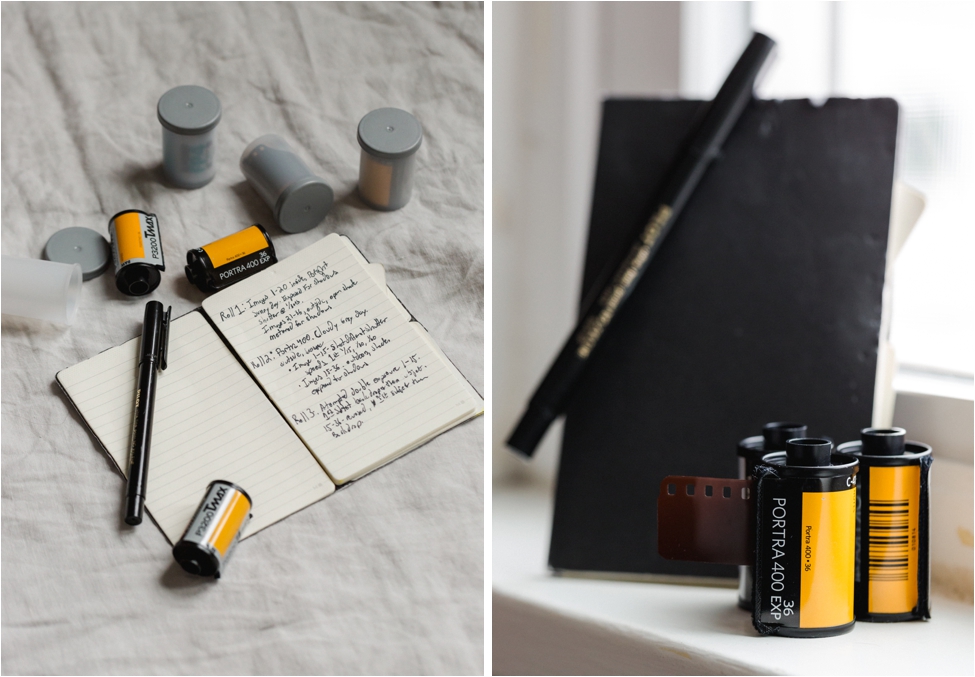
#5: Shoot the entire roll in one session and keep a journal to document what you are photographing.
Don’t fall into the trap of thinking every frame you take in the beginning will be breathtaking. Or that you need to save the rest of the roll for “better light” or another subject. The best thing I can recommend when starting with film photography is to shoot the entire roll all at once. One of the things I did to make sure I was using a full roll in one sitting was to take the same image 3 times, one overexposed, one exposed correctly per my light meter, and one underexposed.
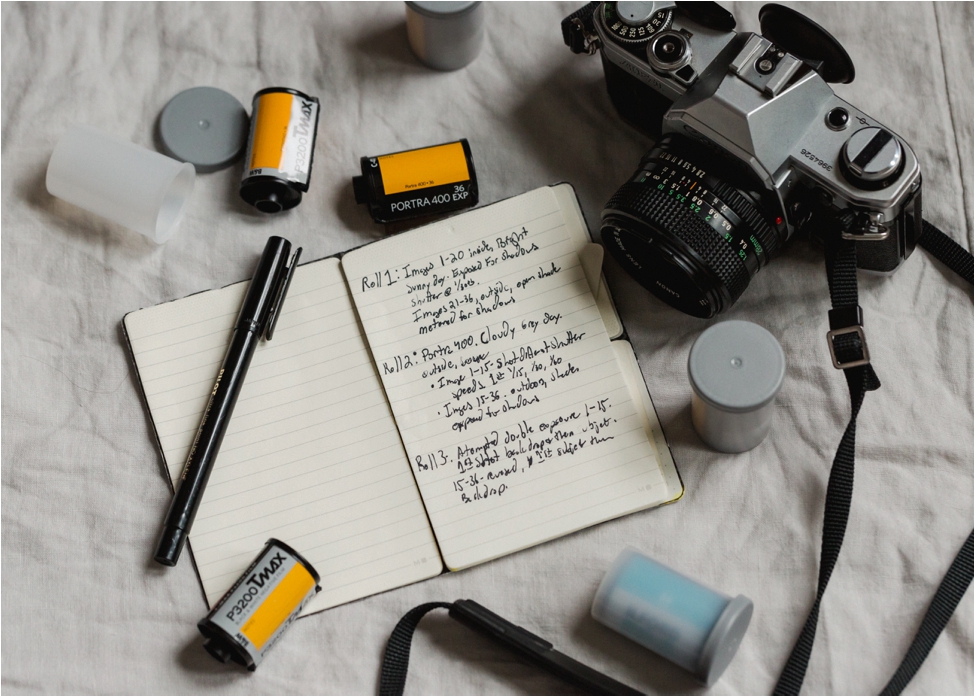
This is where the journal will come in handy. As you take each photo, write down what you did, so that when you get the images back you can reference the journal and see what worked best! I use a small pocket-sized notepad, but they do make notepads designed for film photography, which can be found here. I also suggest that you photograph your first few rolls outside in even light before attempting to dive into shadowy moody window light work.
Bonus Tip:
Let go of the idea that shooting with film is expensive! Of course, there are costs associated with photographing with film, but there are also costs associated with photographing with a digital camera as well. Do you know how many times I have had to replace the shutter on my digital camera over the years from overshooting? Almost every 2 years I get it replaced. And do you know how many hours I’ve spent in front of the computer editing and culling images? That’s time, (and time is money), which I will never get back.
These numbers are only representative of me and my shooting habits, but when I previously photographed a family session on my digital camera, I’d come with around 2,000 images from a 90-minute documentary-style session. Now that I photograph families on film, I am averaging 10 rolls of film per session. It takes me 10-15 minutes to cull the images and 45 minutes to edit them.
Want to learn more about shooting with film?
What did you think of my tips? I plan on putting together a few more helpful guides regarding film photography, so please e-mail me at [email protected] with any feedback or questions you may have that you want answered!
Also, if you’re looking for more focused 1:1 help, we love mentoring and coaching other photographers on growing their businesses and expanding their craft!
